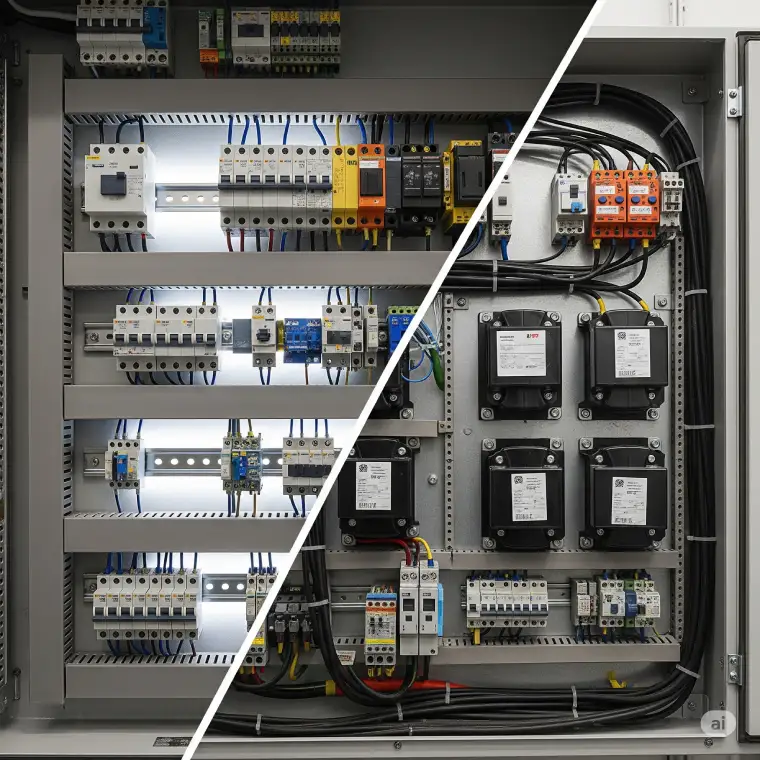
Electrical enclosures are essential for protecting electrical components from environmental hazards. If you manufacture or sell these products in the European Union (EU), CE marking is mandatory. This certification ensures your enclosures meet strict EU safety, health, and environmental standards.
In this guide, we’ll cover:
- What CE marking means for electrical enclosures
- Key EU directives and standards
- Steps to achieve compliance
- Testing and documentation requirements
- Common mistakes to avoid
Why is CE Marking Required for Electrical Enclosures?

CE marking indicates that your product complies with EU regulations, allowing free movement within the European Economic Area (EEA). Without it, your electrical enclosures cannot be legally sold in the EU.
Key Directives & Standards for Electrical Enclosures
- Low Voltage Directive (LVD) 2014/35/EU – Ensures electrical safety.
- EMC Directive 2014/30/EU – Covers electromagnetic compatibility.
- Machinery Directive 2006/42/EC – Applies if the enclosure is part of machinery.
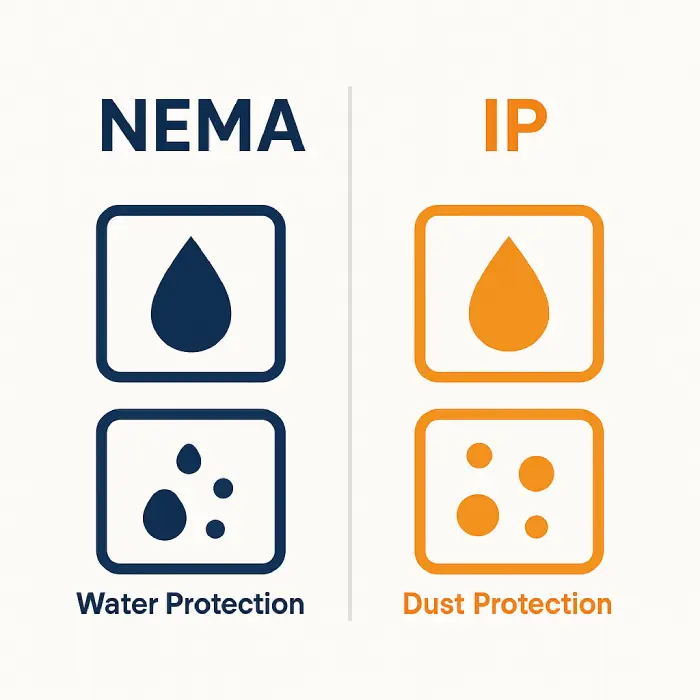
- EN 62208 Standard – Specific to empty enclosures for electrical components.
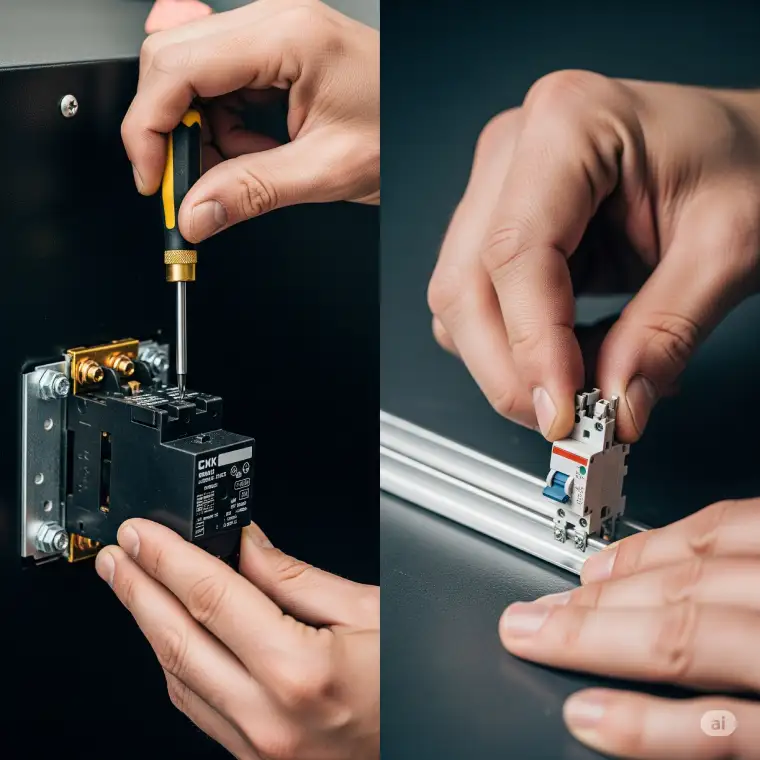
Steps to Obtain CE Marking for Electrical Enclosures
- Identify Applicable Directives – Determine which EU laws apply to your product.
- Conformity Assessment – Perform necessary tests (e.g., insulation, impact resistance).
- Technical Documentation – Prepare a Technical File with design specs, risk assessments, and test reports.
- EU Declaration of Conformity (DoC) – A legally binding document stating compliance.
- Affix the CE Mark – Place the CE logo visibly on the product or packaging.
Common Mistakes to Avoid
- Incorrect Directive Application – Using the wrong standards can lead to non-compliance.
- Incomplete Technical File – Missing documentation can delay market access.
- Self-Certification Without Proper Testing – Some products require third-party testing.
Conclusion
CE marking for electrical enclosures is crucial for EU market access. By following the correct directives, conducting necessary tests, and maintaining proper documentation, manufacturers can ensure compliance and avoid legal issues.
Need help with CE certification? Consult an expert to streamline the process!
More info. CE Making web site